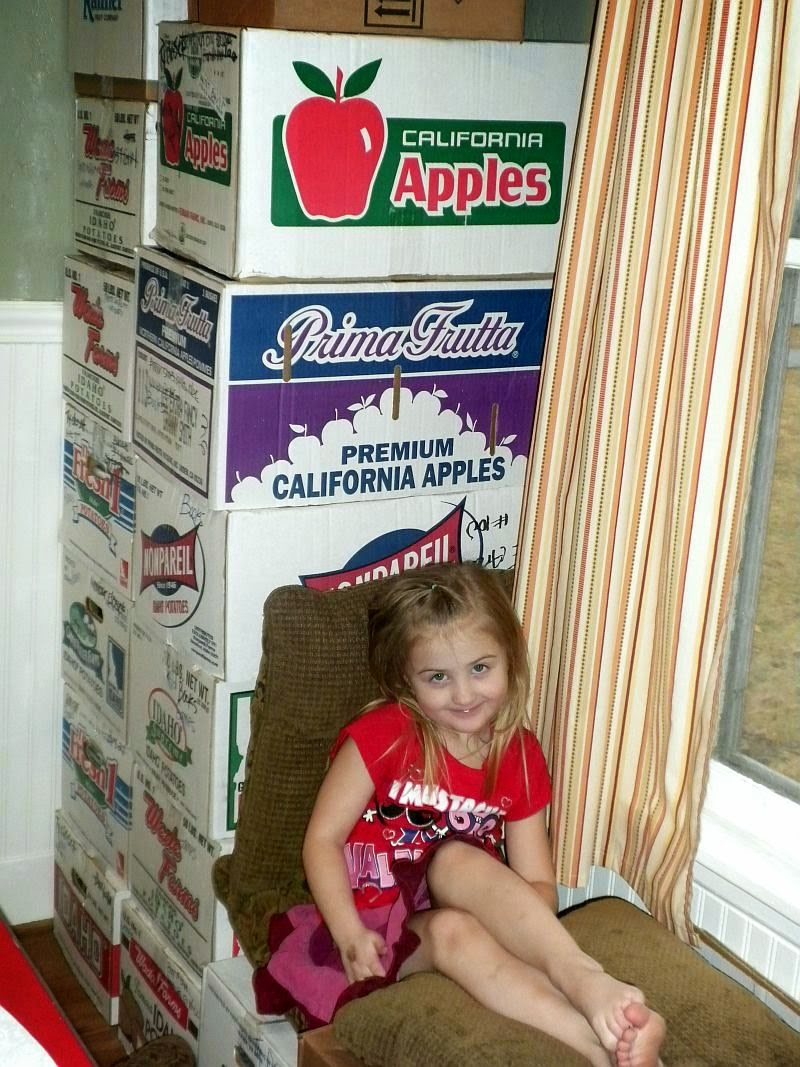
Here's our little squeaker. We were packing up our old house and when we came in the dining room to add some more boxes to the pile, we found her & her make-shift lazy boy. She was a good little helper. We can't believe she is almost 5!
Bathroom BEFORE: Closer view...
Bathroom BEFORE: Vanity and tiny mirror.
Bathroom AFTER: Add an accent wall and my favorite IKEA shower curtain and things start to get interesting.
Bathroom AFTER: Stain the vanity and add a mirror that you can see yourself in and ta-DA! A throne room to be proud of.
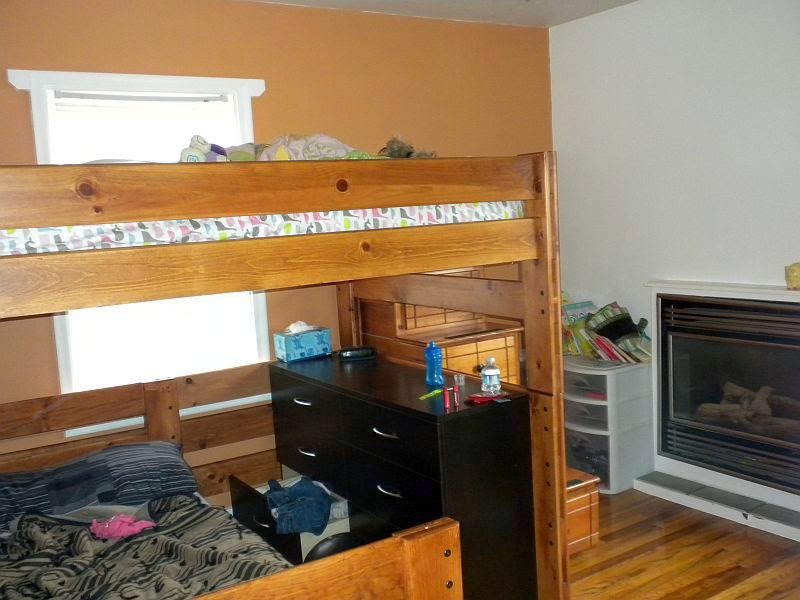
Kids Room BEFORE: Here is the other side of their room. Also included was this gold trimmed gas fireplace. Not working.
Kids Room AFTER: Much better fireplace. My friend (Amy the Amazing) spray-painted the gold trim to silver, replaced the tile, and viola!
Kids Room AFTER: Here's a shot with their giant bed in there. I still can't believe it fits. We were pretty worried.
Kids Room AFTER: See? That cabinet isn't so bad. In fact, I would say it's just right for a few tiny things. Also, please note the commercial mop boards are gone. Replaced with molding to match the other 1/2 of the room.
Master Suite BEFORE: More commercial molding in 1/2 of the room. Cream closet accents to go along with the stark white walls.
Master Suite BEFORE: I do like this little nook in the corner. Although, I don't fancy having this one window on the other wall... I think we'll fill that in. More horrible mop boards.Master Suite AFTER: Matching molding & a wonderful grey color on the walls, that "turns periwinkle in the morning light"... Of COURSE there's a story behind that little treasure of a statement. We (as in my friend Amy & I) got all of our fix-it-yourself supplies from this great little store in Boise. It is called "RESTORE". The subcontractors, homeowners, etc. in the Treasure Valley take all of their surplus supplies to this place. The supplies are then sold at remarkably low prices, and all proceeds go to the Habitat for Humanity. We got all of our paint, molding, etc. from here. When I bought the paint to do the Master bedroom, the top of the can said "turns periwinkle in the morning light". So, of course, I had to get it. Because that's just fun! Turns out to be a pretty great color at other times of the day as well.
Master Suite AFTER: Built-in. LOVE IT!
Master Suite AFTER: And here's the little nook I mentioned earlier with our dresser cozied in. Perfect.
Kitchen BEFORE: Love the burgundy cabinet fronts with the lavender (that's right, really, really light purple) shade behind it. Don't you? Throw in the "Wine Country" K-Mart border along the back-splash and that hideous linoleum and this is just about the last place I want to be. Unless of course, this little boy is in there. Then I definitely want to be in here, because he is DARLING!
Kitchen BEFORE: The one redeeming factor is the scalloped edging above the window. Maybe. Just...maybe....
Kitchen BEFORE: View from side door.
Kitchen MIDDLE: Add 4 layers of cheap white paint (don't buy cheap), and things start to look a little cleaner. My original plan was NOT to pull up the linoleum in the kitchen. It just kind of...happened? And after getting 1/2 of it pulled up, there was no going back. So, we pulled it up only to reveal the original yellow, pearly melanin linoleum from 1951. Which would have been okay. Had there not been a 2-inch seam down the middle of it. So, we painted it white too. Pretty white. For a kitchen. As for that bright yellow line along the wall - that is where we spray-painted where the boarder used to be. To "disguise" the disfigured wall we found behind said border. I like the splash of yellow, but we probably should have gone with tile. Kitchen MIDDLE: Here we are after the official move-in. Tyler made this green bookshelf for me after we were first married & living in Arizona. It used to be whitish-blue (or, so light blue I always thought it was white). I painted it this fun green for our new kitchen. We were short on cabinets, and this has done the trick marvelously. Ironically, this is the ONE color of paint I purposefully chose, and had tinted. After seeing the new "key-lime" bookshelf, Tyler said to me, "You know, just because paint is cheap doesn't mean you should buy it." To which I promptly replied, "This was a CHOSEN color. I ASKED them to tint it this color!" The shock and awkward silence that followed before the GUFFAW of laughter were almost worth it. Almost.
Kitchen MIDDLE: While white is very clean-feeling. It also shows EVERYTHING. So, we "combed" a grey paint on top of it...
Kitchen AFTER: Splashed on a bright blue stencil...
Kitchen AFTER: And I am LOVING it!!!
Although, Tyler had some complaints about the 4 days it took to dry & cure. But, now that we are back in & working in the kitchen again, I'm sure he is loving it just as much.Those were all of the big projects. Here are more pictures of the rest of the house, that we haven't been able to get to yet:
Laundry Room
Laundry Room
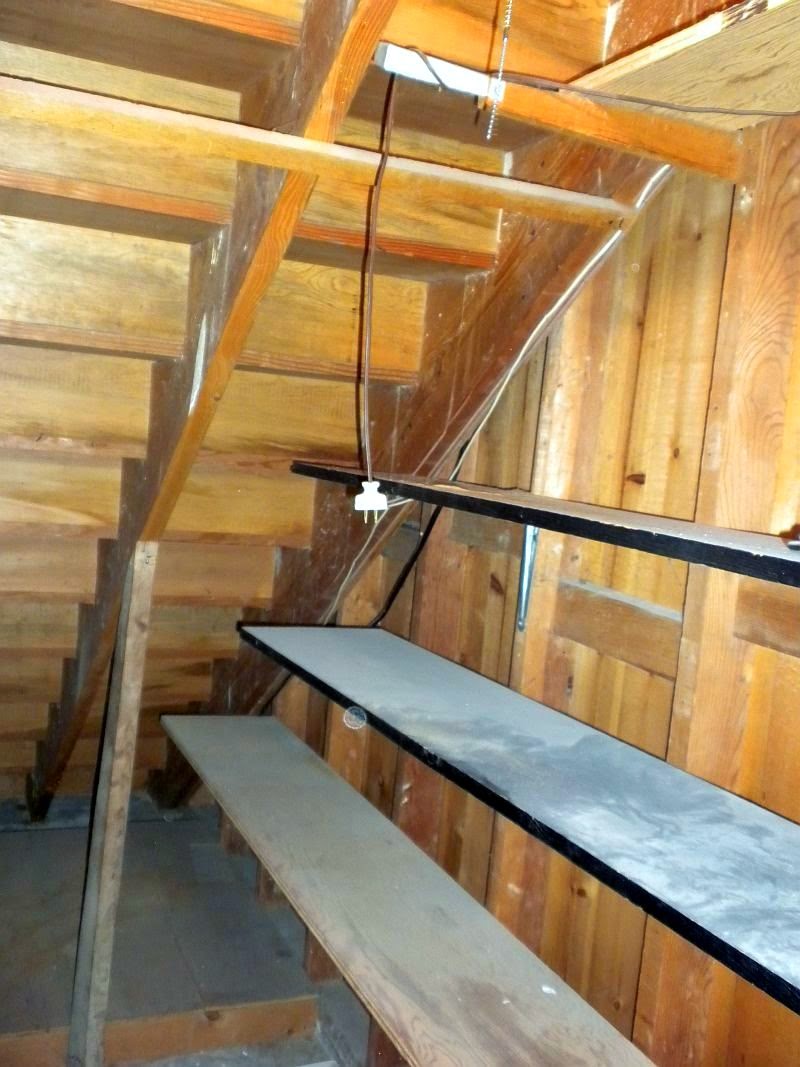
Storage under the stairs
Family Room (or, Creepy Family Room as Elsie likes to put it)Downstairs bedroom.
And that's all we've got for now, folks. Come and see us! We'd love to put you to work ;)


1 comment:
You are AMAZING!! This looks so good! I can't believe how much work you've put in it and have been there for what...2 weeks?!?!?! You need a nap!
Post a Comment